If you’re looking for a website setup tutorial, you’re probably ready to build your own website but feel unsure about where everything starts and how it all connects. That’s completely normal. In this detailed website setup tutorial, I’ll guide you through each stage in a clear, practical, and beginner-friendly way so you can actually build a working website—not just understand theory.
We’ll go from planning → buying domain → hosting → WordPress setup → design → content → launch.
Let’s begin.
1. Understanding How a Website Actually Works
Before jumping into the technical steps of this website setup tutorial, it helps to understand the basic structure:
A website has 3 main parts:
1. Domain Name (Your Address)
This is what people type in their browser:
- example.com
- mybusiness.net
Think of it like your home address.
2. Web Hosting (Your Website Storage)
Hosting is a server where all your website files live:
- Images
- Text
- Design files
- Database
Without hosting, your website cannot exist online.
3. Website Platform (Your Building Tool)
This is what you use to design your website.
Most beginners use:
- WordPress (most popular)
- Wix (drag & drop)
- Shopify (for online stores)
In this website setup tutorial, we focus on WordPress because it’s powerful and beginner-friendly.
2. Step 1 – Choosing the Right Domain Name
Your domain name is your brand identity online. Choosing it correctly is very important.
Tips for choosing a good domain:
- Keep it short and simple
- Avoid complicated spellings
- Make it easy to pronounce
- Try to include your niche keyword (if possible)
- Avoid numbers and hyphens
Example:
- Good: techworld.com
- Bad: tech-world123-site.com
Where to buy domain:
You can purchase from hosting companies or domain registrars like:
- Namecheap
- GoDaddy
- Google Domains (in supported regions)
Tip: Many hosting providers offer a free domain for the first year.
3. Step 2 – Choosing Web Hosting (Very Important Step)
Hosting is the backbone of your website. Choosing the wrong hosting can slow down your site.
Types of hosting:
1. Shared Hosting (Best for Beginners)
- Cheap
- Easy to manage
- Suitable for new websites
2. VPS Hosting (Intermediate)
- More power
- Better speed
- Requires some technical knowledge
3. Cloud Hosting (Advanced)
- High performance
- Scalable
- Best for large traffic websites
Recommended Hosting Providers:
- Hostinger (budget-friendly)
- Bluehost (beginner-friendly)
- SiteGround (fast and reliable)
4. Step 3 – Connecting Domain and Hosting
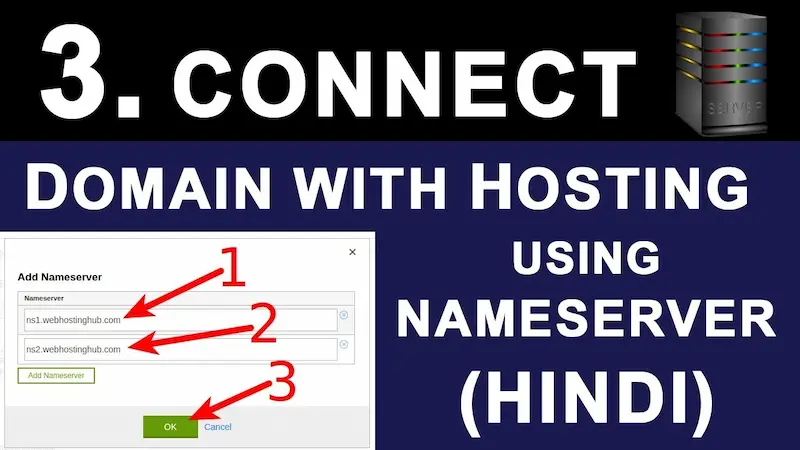
After purchasing hosting, you need to connect your domain.
Usually this happens automatically, but if not:
Steps:
- Log in to your hosting dashboard
- Go to “Domains” section
- Add your domain
- Update nameservers (provided by hosting company)
- Wait 15 minutes to 24 hours for activation
Once done, your domain and hosting are connected.
5. Step 4 – Installing WordPress (Core of This Tutorial)
WordPress is what powers your website.
Why WordPress?
- Free
- Easy to use
- No coding required
- Thousands of themes and plugins
How to install WordPress:
- Log in to hosting panel (cPanel or dashboard)
- Find “WordPress Installer” or “Auto Installer”
- Click Install
- Select your domain
- Enter website name and admin details
- Click Install
After installation, you can access:
yourdomain.com/wp-admin
You may also like to read this:
Smart Digital Devices: Complete Guide To Smart Technology
Best Free AI Tools For Writing, Design, and Productivity
Trending Tech Updates You Need To Follow This Year
Beginner Blogging Guide 2026: Easy Steps To Start Your First Blog
How To Start Blogging: Complete Beginner’s Guide 2026
6. Step 5 – Understanding WordPress Dashboard
Once inside WordPress, you’ll see the dashboard.
Main sections:
- Posts → blog articles
- Pages → static pages (About, Contact)
- Appearance → design and themes
- Plugins → add features
- Settings → website configuration
This is your control center.
7. Step 6 – Choosing and Installing a Theme
A theme controls how your website looks.
How to install a theme:
- Go to Appearance → Themes
- Click “Add New”
- Search a theme
- Click Install → Activate
Best beginner themes:
- Astra (fast and flexible)
- GeneratePress (lightweight)
- OceanWP (feature-rich)
Tip: Always choose a fast and mobile-friendly theme.
8. Step 7 – Customizing Your Website Design
Now we move into the design part of this website setup tutorial.
Go to:
Appearance → Customize
You can change:
- Logo
- Site title and tagline
- Colors
- Fonts
- Header and footer layout
- Homepage structure
Pro Tips:
- Use 2–3 main colors only
- Keep fonts simple
- Make navigation easy
- Avoid clutter
A clean website always performs better.
9. Step 8 – Creating Important Pages
Every professional website needs essential pages.
Must-have pages:
- Home Page (main landing page)
- About Page (your story or business info)
- Contact Page (form or email)
- Privacy Policy (important for SEO and ads)
- Blog Page (if you plan to post articles)
How to create a page:
- Go to Pages → Add New
- Write title and content
- Click Publish
10. Step 9 – Installing Essential Plugins
Plugins add extra functionality to your website.
Recommended plugins:
SEO Plugins:
- Yoast SEO or Rank Math
Helps your website rank on Google.
Page Builder:
- Elementor
Drag-and-drop design tool.
Speed Optimization:
- LiteSpeed Cache or WP Rocket
Security:
- Wordfence Security
Forms:
- WPForms
Important: Don’t install too many plugins. It slows down your website.
11. Step 10 – Creating Your First Blog Post
Now your website is ready for content.
Steps:
- Go to Posts → Add New
- Enter title
- Write your article
- Add headings (H1, H2, H3)
- Insert images
- Click Publish
Writing tips:
- Keep paragraphs short
- Use simple language
- Add keywords naturally
- Focus on helpful content
12. Step 11 – Making Your Website Mobile Friendly
Most visitors come from mobile devices.
Check:
- Text is readable
- Buttons are easy to click
- Images fit screen properly
- Menu works smoothly
Most modern themes handle this automatically.
13. Step 12 – Basic SEO Setup
SEO helps your website appear on Google.
Basic SEO steps:
- Install SEO plugin
- Set site title and description
- Use keywords in posts
- Add meta descriptions
- Use proper headings
- Optimize images
14. Step 13 – Website Security Setup
Security is often ignored but very important.
Do this:
- Install security plugin (Wordfence)
- Use strong password
- Enable SSL certificate (https)
- Keep WordPress updated
15. Step 14 – Launching Your Website
Before launch, check:
- All pages are working
- No broken links
- Design looks clean
- Mobile view is perfect
Once ready, you can officially launch and share your website.
Common Beginner Mistakes
Avoid these mistakes:
- Choosing a complicated domain
- Installing too many plugins
- Ignoring SEO
- Using slow hosting
- Not backing up website
FAQs – Website Setup Tutorial
1. Can I build a website without coding?
Yes, WordPress allows you to build websites without coding.
2. How much does it cost?
Usually $30–$100 per year for beginners.
3. How long does setup take?
Around 1–3 hours for a basic website.
4. Is WordPress good for beginners?
Yes, it is the most beginner-friendly platform.
5. Can I make money from my website?
Yes, through ads, affiliate marketing, or selling products.
Conclusion
This detailed website setup tutorial shows you exactly how to build a website from scratch—even if you have no technical experience. If you follow each step carefully, you can create a fully functional and professional website in just a few hours.
Now it’s your turn—start building your website and bring your idea online today.